Tuesday, February 25, 2014

Movable Window Seats


Are you looking for storage ideas?
Do you want to take this project with you when you move?
Is cheaper the better?
Quick and Easy to make?


I put together a simple movable window seat to store our coffee table books and entertaining media. I gained precious storage and seating without loosing much space.

Tools used:

Kreg Jig
Kreg shelf pin Jig
Miter saw
Band saw (a jig saw will work too)
Table saw for ripping bottom shelves (I used the band saw instead)
Cordless brad nailer
Orbital sander
Drill
Level
Clamps
Measuring tape

List of materials:

MDF 12"x96" (3 total) -$33
10 feet Chair rail molding -$7
10 feet Baseboard - $8
Kreg Jig's 1 and 1/4 inch soft wood screws -$6
Putty - already had
Sand paper - already had
Glossy and other Paint - already had
Pocket hole caps -$7
Shelf pins - already had
Thin Fiberboard backing $10

Directions:

We have 2 (35" wide) windows on either side of our fireplace.
To fit the windows and use minimal space, our seats need to be 35" wide x 12 "deep x 20.5" high
I chose to purchase MDF for this project for its sturdiness and price.

Measure twice and cut each board with the miter saw

Part 1. Cutting and drilling

1 board was cut into two 35 inch pieces (for 2 tops) and one 19.75 piece (for 1 side) - pic A and B
1 board was cut into three 19.75 inch and one 33.5 inch pieces (for 3 sides and one shelf) - pic B and D
1 board was cut into two 33.5 inch pieces (for 2 bottoms) - pic C

pic A

pic B

pic C

pic D

pic E
With a pencil, mark the outside of each side board piece (there are 4 of them) and using your kreg jig, drill pocket holes on the inside of the boards about 2 to 2 and a half inches apart. (E)

Drill pocket holes on the right and left side of both bottom pieces. (E)

pic F
I want the window seats to be flush against the wall. Cutting a small opening at the bottom of each side piece is necessary to accommodate the wall baseboard, shoe molding and electrical cords.  The bottom is the opposite side to where you drilled your pocket holes.
Measure and cut using a band saw or a jig saw. (F)
Doing so, will require you to rip your bottom pieces/shelf to fit the window seats width at the bottom. See pic C above.
I had to rip out 1.5 inches off both bottom shelves with my band saw with fence as a guide.

pic G
Use your Kreg shelf pin Jig to drill holes on the inside of each side piece so you can secure one or more shelves with pins. (G)

Part 2: Assembly and cosmetics

Assemble the sides to the top piece first using your Kreg Jig drill bit and screws and assemble the bottom pieces using a level. (Sorry no pictures here. I do not have a tripod and cannot assemble and take pictures at the same time. Bummer.)

To give each window seat more support, I screwed the pieces I ripped off the bottom shelves to the back and top of the window seat using the Kreg Jig kit.

Cut your chair railing and baseboard at a 45 degree angle to fit the top and bottom of your window seats and nail them using your brad nailer

Putty the nail holes and imperfections

Part 3: Sand, paint and add backing


Sand with 150 grade sandpaper using your orbital sander.
Prime and paint with the color of your choice. I used what I had on hand (exterior white paint) and let dry.
With a sand block, lightly sand over the dried paint and paint two more coats of paint. This time I used glossy paint to match my baseboard paint.
Nail a piece of fiberboard to the back of the window seat as pictures above.

Cover all showing pocket holes with the plastic caps and add the pins to hold the shelf/ves.


Accessorize and top with a custom made tufted cushion.


If you have any questions or need more information and help about this project, feel free to ask.

Monday, February 17, 2014

HE Laundry Detergent Recipe


Who doesn't like a laundry detergent that cleans and lasts?

I have been making my own laundry detergent since summer of 2012.
This is by far the best laundry detergent I have used and the LEAST expensive too. I have purchased all the ingredients only once and I have not ran out of detergent yet. If you are using a HE washer, this laundry detergent is for you.

You will find many recipes on pinterest but this one is my absolute favorite.

Ingredients:

1 Bar Fels-Naptha or Zote Soap (grated and pulverized)
1 Cup Washing Soda
1 Cup Borax
1/2 Cup Oxi-Clean (optional)
1/2 Cup Purex Crystal (optional)

Instructions:

I do not grate my soap by hand. Instead, I use my food processor with the fine grater attachment and load the soap up and voilĂ ! Job Done. Than I transfer the soap into my Ninja Blender (because it has 2 blades) and pulverize the shredded soap until it looks almost like a coarse/fine powder.
Pour the soap powder in the large glass or stainless steel container you will be using to store your laundry detergent and add the rest of the ingredients. Mix well, shake the container if you want and that's it. Your laundry detergent is ready to be used.

You only need a very small amount of this mixture per load. ONLY USE 1 to 2 Tablespoons. A small amount goes a long way. I have never had any problems with my laundry not feeling or looking clean with just 1 T of this detergent! I will only use 2 T if I am doing a very large load of laundry.

This detergent suds very little but do not worry about your clothes not getting clean because there are no bubbles in the water. More suds does not mean cleaner.

If you have any questions or concerns or need more information about this recipe, please leave me a comment and I will be happy to help.

FYI: I have purchased every ingredient on this list at walmart and the cost was very low.
This detergent has lasted me one and half years so far. I still have plenty left and have given many large samples (40 loads or more per household) to my neighbors and friends.

Thursday, February 13, 2014

Valentine's Crafts and Decor

Who does't like to decorate inexpensively?


Send a message with bottle tags


I created these tags with my silhouette cameo, using the sketch and cut features.


...
Welcome friends and neighbors with a wreath hung on your front door


Materials:
4 Rolls of Crepe paper rolls (red or pink for valentine's)
Medium MDF wood flat wreath
Hot glue gun and stick
Craft paper
Glue
Stamping ink or paint
Pencil with eraser

Instructions:
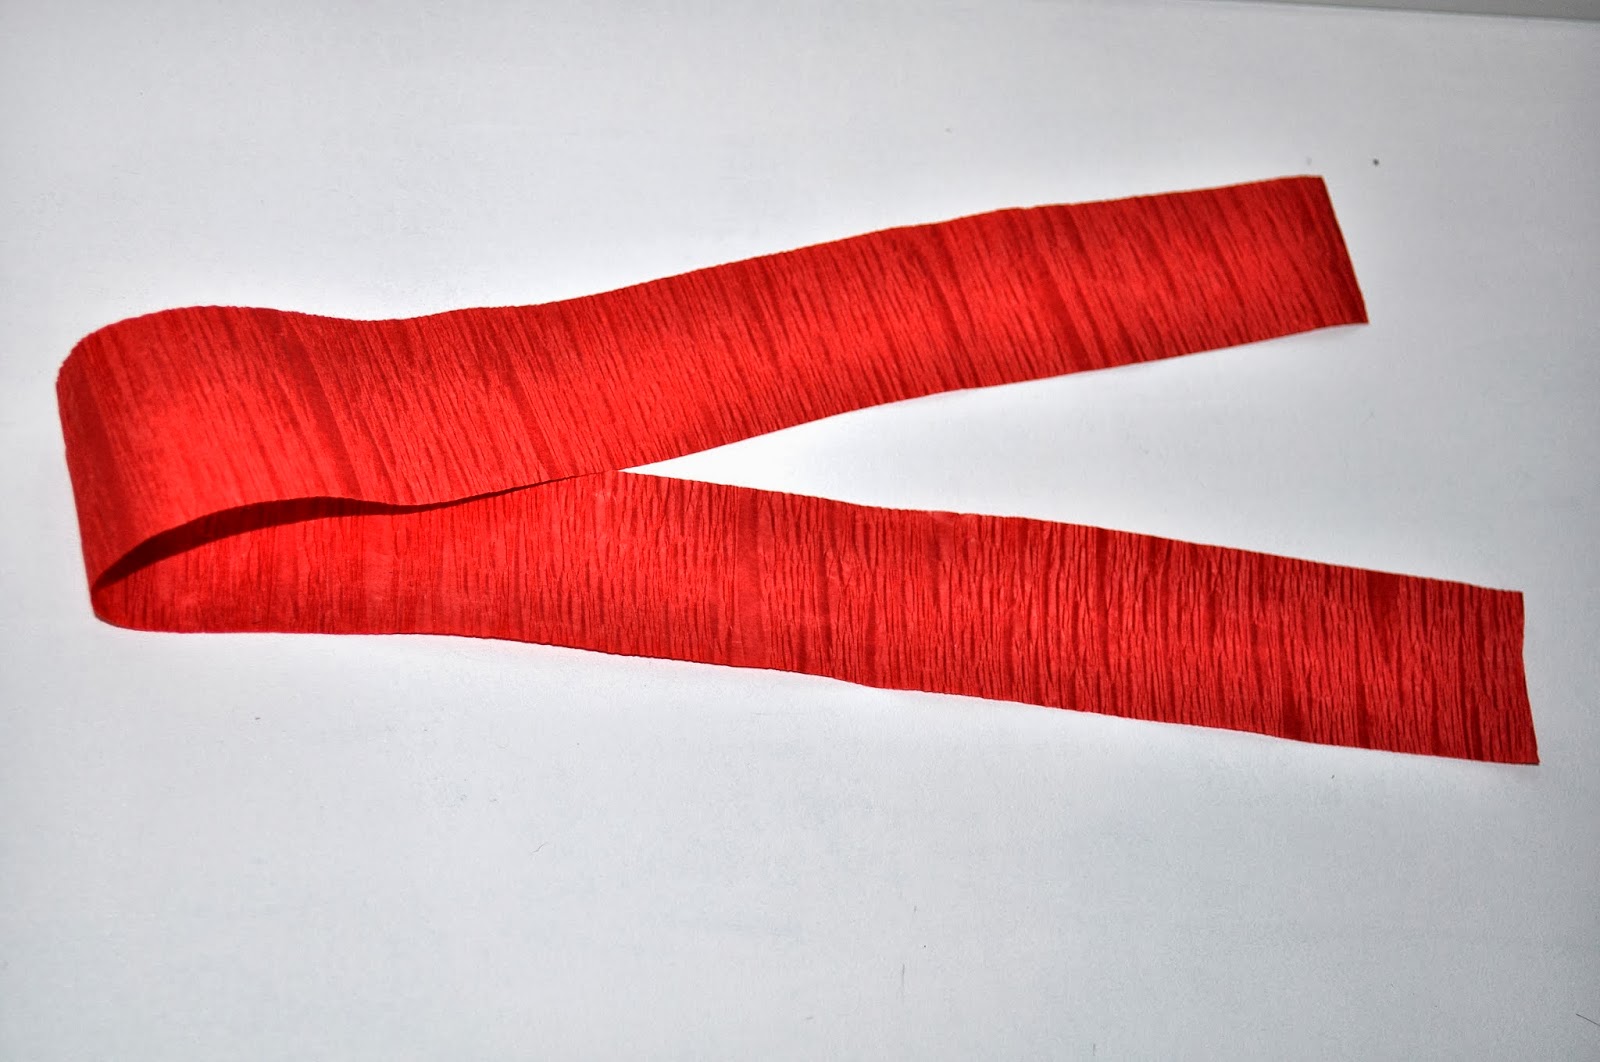
1. Cut strings of crepe paper about 28 to 30 inches long

2. Fold edge and roll into a rose like so.

3. Pinch the bottom of the flower towards the center to keep its shape

4. The front of the flower should look like this

5. Using your hot glue gun, glue the flowers to the wreath like so

This piece was made with one roll of crepe paper. Each roll should give you approximately 28 to 30 flowers. It took me almost 4 rolls to finish this wreath. Remember, you can make smaller flowers to fill in any gaps.

 
6. Cut out several pieces of craft paper of the same size and glue them together to make a very long paper ribbon. 

7. With a pencil eraser, stamp circle shapes all over one side of the paper ribbon

8. Glue the strip to the outside edge of the wreath and voila!


...
Make yourself comfortable with simple accessories


For instructions on how to make a pillow, click here

I created my design using the font "Impact Label Reversed" (download it here for free) and printed it on fabric transfer paper.