Wednesday, December 17, 2014

Photo Glass Ornament DIY


I have been giving these for Christmas for years!

Supplies:

Glass ornament
Transparency printable paper (make sure it is ink jet if that is the type of printer you have)
Printer
Circle cutter or scissors
Pencil

Instructions:

If you do not know the diameter of your ornament, you can find it by measuring its circumference and dividing it by pi (3.14).

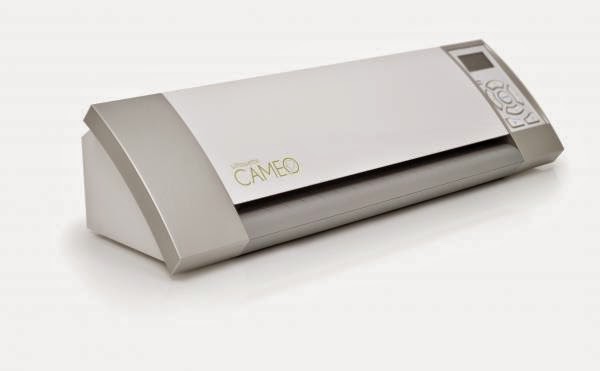
Choose a picture for your ornament and make sure the size fits the diameter of your ornament. What this means is that the subject needs to be centered so that the entire circle fits in the picture. You might have to enlarge or shrink the photo. I used to make these on a word document a long time ago by inserting an image on to my document and creating a circle the size of the circumference of the ornament. I would play with the size of the photo until it fit right in that circle. I then, deleted the circle I had drawn and hit the print button. I could fit up to 6 pictures on one sheet. The next step was just to manually cut each circle with the fiskars circle cutter. This part was a bit tricky and I sometimes had to start all over again. Figuring out where to position the cutter was a real headache! Having a silhouette cameo has been a time and life saver.

 
The picture on the left needs to be resized to fit the circle, the one on the right was perfect so I went ahead and used the intersect tool on the silhouette cameo to make anything outside the circle disapear.  There is no need to waist ink! 
All my pictures are now ready, I centered them to the page and inserted the registration marks for cutting. It is now ready to be printed

I like printing on transparency that way the photo can be seen on both sides of the ornament. Always print on the rougher side of the transparency.


Cut the picture using a fiskars circle cutter, your silhouette cameo or simply your scissors if you have steady hands. Mine are now cut with the help of my silhouette cameo. If you cut to photo too small it might roll around once in the ornament. If you cut it too big, it will bend a bit inside and won't look so good.

Roll the picture around a pencil

Insert the pencil in the ornament

Release the photo. At this point, you might have to adjust the picture around with tweezers. I always make sure I roll the photo around the pencil the way I want it to face in the ornament to avoid this type of tweaking.

Add the ornament cover and voila!


It can't get any simpler than this!

Friday, December 12, 2014

Christmas Decor

This is a time for decorating, sipping hot cocoa and warming up by a nice fire and I am doing just that today!


Christmas is almost here!

Handmade stockings. Thank you Betsy Barefoot


Snow balls


Silver and Gold

My favorite handmade ornament. Thank you Betsy Barefoot

Hubby's old train


Our Christmas Angel. Thank you Miss Joyce

Bells, bells and more bells

Foyer decor


Vintage skis


Felted Santa :-)

Simple Nativity Center. Thank you Betsy Barefoot

My latest craft. Bleached pine cones and glitter

Musical tree. Thank you Amy Barefoot

Tuesday, December 2, 2014

Living Room Tour


Like most open floor plans, the kitchen and the living room share the same space! I don't particularly like that concept and wish my kitchen was in a separate room but I am learning to work with that and trying to like it.

The living room is "almost" finished. I say almost because it won't look finished until the kitchen is to my liking. There is much more work waiting to be done in this dark space!

So for now....just ignore the "kitchen" background and take a sneak peak at our living room.

World Market Buffet made of exotic wood and lots of wine corks :-)

This common area is so frequently used, as you can imagine any gathering room would, which makes it almost impossible to keep it in perfect photographing condition. And let's not talk about the lighting today! The living room faces North and has hardly any light so I have had to use the over exposure feature on my camera!

Don't pay attention to the TV not being centered (I have been asking my Hubby to help me with that) or the somewhat Fall decorations existence (I am working on it as I am typing this).

A lovely antique Chinese cabinet given to me by my friend Benedicte

The Sofa is from Restoration Hardware,  the coffee table and plantation chair are from World Market. The white accent chairs are from Ikea.
Wall paint color is from Restoration Hardware and is called PUMICE

VOILA!