Sunday, July 26, 2015

Artwork Reproduction Made Easy


All you need is:
Tissue paper
scissors
Printer
Mod podge
Brush (I used a foam one)
Cheap canvas

I followed simple directions on how to print on tissue paper here, then chose my art and voila!


Step 1.
Cut the tissue paper to the size of your carrier sheet (sheet of paper you will be using to help get the tissue paper through the printer).


Step 2.
Spray one side of your carrier sheet with some light weight spray adhesive. After I spray, I usually dab the paper a little with my fingers so it is not so sticky and become a pain to peel! Trust me, on this one, I have had to redo step 1 through 3 a few times before I could peel it off in one piece but may also depend on the quality of your tissue paper.


Step 3.
Stick the shiny side of the tissue paper down onto the carrier sheet and press lightly. If you press hard, you may have a hard time peeling it off after printing. Try and get rid of as many wrinkles as possible though.  Or not! Sometimes, I like the wrinkles for my vintage reproductions projects.


Step 4.
Print your artwork


Step 5.
Peel the tissue paper off the carrier sheet carefully.
After doing so as indicated on the video, I noticed that it rolled quiet a bit on the edges (maybe because of its large size) so I laid it down on the table and set heavy objects on the corners and edges just to keep the paper from rolling and sticking together while getting the glue on the canvas.


Step 6.
Apply mod podge with a foam brush in sections. I started on the narrower side of the canvas in a up and down motion for about 2 or 3 inches in width and started gluing the tissue paper picture there.

Than I brushed more mod podge for another 2 or 3 inches using the same painting motion and I unrolled some more of the tissue paper to stick it to the canvas making sure to press down really well every time with my fingers to avoid any air bubbles. I continued doing so until the entire picture was glued and I brushed some more mod podge on the edges around the canvas just to be certain that any unglued bits and pieces of tissue paper were well glued.


Step 7.
Now for the finishing touch and to give my artwork a more professional and finished look, I just applied some mod podge all over the canvas in an up and down motion to protect it.

Voila! You are all done.


you can be creative and print a family photo, a nature scene or a kid's artwork image on tissue paper. Your imagination is the limit. This is the easiest way I found to transfer photos onto canvas. I am lucky enough to own a large size printer that can print sizes up to 13x19 inches. It is a Cannon Pixma ix6850. It is wireless and only cost me $140 on amazon with free shipping.

Let me know how this project works out for you.


Wednesday, July 22, 2015

A little about me and where I am now


Dear friends,

I have been living in Wilmington, NC for a little over three years now and while I tackled DIYs and make overs, I relentlessly searched for employment without success!

Needless to say, I am grateful for the fact that my job search went nowhere as it lead me to a new beginning in my professional career!

I made the decision a year ago to become a realtor and after a couple of courses and one fail, I am proud to say that I am now a NC Real Estate Broker/Realtor.

I am ever so grateful to BlueCoast Realty Corporation for taking me under their wing and help me start my business.

I am very happy and feel privileged to be doing something I have been wanting to do for a very long time. I have been a professional "home looker" for so many years and I can finally say that I am now prepared and ready to put my best skills to work in helping people find the perfect home.

If you are a North Carolina resident looking for a house change or planning on moving to this beautiful coastal town from out of state, don't hesitate to contact me.

Celine Barefoot
Broker/ REALTOR®
(804) 306-8170

License# 284904

BlueCoast Realty
16150 HWY 17
Suite D
Hampstead, NC 28443
www.wilmingtonnchomes.com 


Tuesday, June 30, 2015

Chair makeover


I was given a nice armchair by my friend Renata a while back and after many months of procrascinating on what to do with it, I decided to give it a paint job!

When I say paint, I mean paint it! I painted the wood and I painted the fabric. Something I have been wanting to try for a long time and thanks to Annie Sloan's chalk paint, it was all possible and fairly easy to do.


Supplies:

Annie Sloan paint
Annie Sloan clear wax
Paint brushes (S and L)
Painters tape
Sand paper (1000 grit for fabric and 200 for wood)


I started this project by painting the fabric before the wood. I do not know if this is the right order but that is what I chose to do. The first step is to dust free the chair very well (fabric and wood). The second step is to wet the fabric well with a wet rag or a spray bottle. It needs to be moist to absorb the paint well but you don't want it to be soaking wet! The fabric on this chair was so dark that it took about three coats of Annie Sloan's "french linen" paint to finally get the fabric all covered up. I sanded the fabric lightly in between coats to smooth the surface and give it a leather like look.


Once the paint on the fabric was dry (about 24 hours), I gave the wood a couple of coats of Annie Sloan's "old white" chalk paint, making sure to let it dry between coats. 


The next day, I just sanded the corners and edges to give the chair a distressed look and finished the project by applying a light coat of Annie Sloan's clear wax on the wood as well as on the fabric.

Your thoughts?


Friday, May 15, 2015

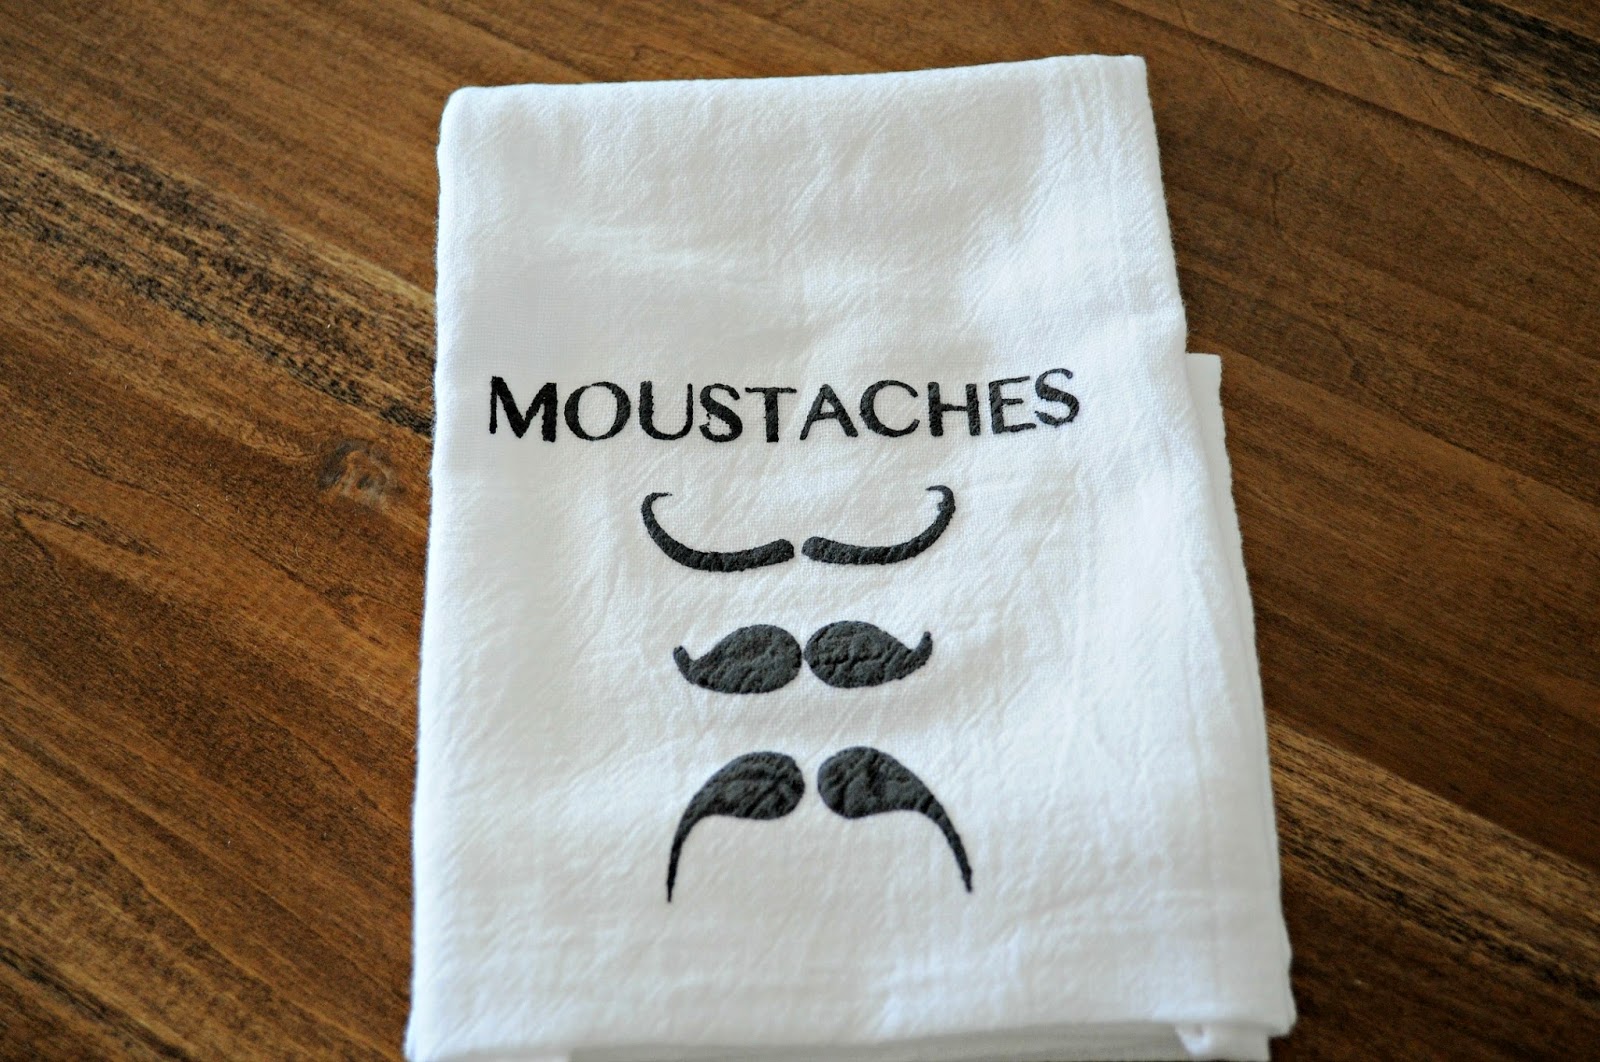
Custom dish towels

I can design and customize flour sack dish towels for you!


Here are a few samples of what I have done in the past.


These make great gifts for family and friends.

Anyone interested, please leave me a message via email.

Thanks for checking!

Sunday, April 19, 2015

Custom Wedding Gift

Are you looking for the perfect wedding gift to give to a close family member or friend?
What about a custom made wood sign?

I use Medium Density Fiberboard wood for its smooth surface and non warping quality
this one is 8 x 21 inches but other sizes are available 

You choose your favorite fonts

One background color and 2 font colors

A coat of clear wax is applied for protection

It comes with one sawtooth hook pre-installed in the back for hanging


Or.... 
you might prefer this version

MDF wood 

Two colors


Or.....
This one

sorry for the Photo quality, this picture was taken with my phone


Tuesday, March 31, 2015

Tunisian Crochet Anyone?

Has any of you ever used a Tunisian or Afghan crochet hook?
Well, I did for the first time during the Christmas Holidays and this is what came out of it!

This is the front of my wash cloth. I used sugar n cream 100% cotton yarn in the color soft ecru and a size 5.00 mm or H (14 inches long) Afghan hook

I like the tight knitting but maybe it would not have been so tight if I would have used a hook that was 2 or 3 sizes bigger than the size recommended for the yarn

I have to say! Tunisian crochet uses a lot of yarn. I used an entire ball of cotton yarn for one wash cloth as opposed to making two wash cloths with one one ball of yarn when doing the garter stitch with regular knitting needles

Here is what the back of this stitch looks like!

Don't they look like tight little waves or bumps. I am sure I will get better at this with lots more practice

I used this pattern from www.purlbee.com
and watched the instructions on Tunisian basics how to before getting started!

Have you tried it before? Post a photo or a link of your work for some inspiration.

Thank you.


Thursday, March 12, 2015

Simple Air Freshner


Spring is almost here and with it comes the wonderful scent of flowers and fresh air! While waiting for this never-ending winter to leave, I like to feel like I am getting closer to sunny warm days by spraying my house with a calming and sweet mixture.

I do not like the strong smell of the store bought products such as febreeze or lysol and I tend to lean towards more natural products. Spending too many $$$ on those is not something I like to do either so I just simply make my own by mixing water and essential oils in a spray bottle.

I use it on my curtains, carpet and bed linens. It freshens up the air in our house and makes gloomy days feel sunny.

Ingredients:
15 drops drops of any essential oils you like
A spray bottle filled with 32 ounces of water

If you are just looking to deodorize instead of freshening things up than just mix 1 part vodka for 1 part water in a spray bottle. This recipe will take odors away without smelling like alcohol.

that's it! It could not get any simpler than that.